How To Replace the Upper and Lower Thermostat Housing on a Ford 4.0L V6 SOHC Engine
Step 6: Clean Up The Mess
Now you can inspect the mess left by your coolant leak. Get your flashlight and shine it under the intake manifold. On mine coolant was pooled in all the little nooks and crannies. There was corrosion all over and a kind of coolant-corrosion sludge on things.
Demon suggested I use my hose and spray off the engine at this point. I probably should have followed his suggestion, but when I was at this point it was late, I was in the garage, and this would have meant waiting until morning. So instead I grabbed my shopvac and some rubber hose and made up an attachment to slip under the intake manifold and suck up as much of that gunk as I could.
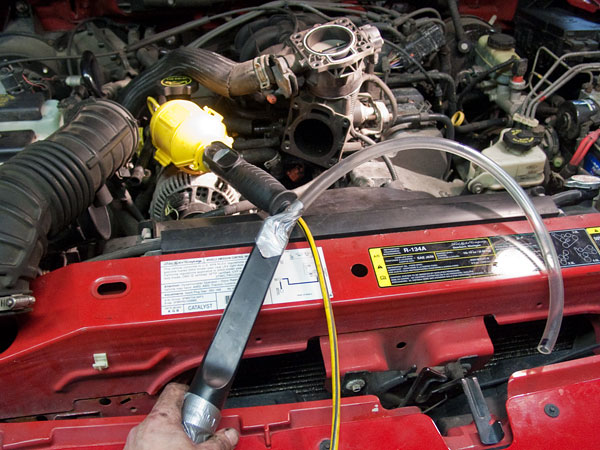
Use your flashlight and the shopvac to get as much of the gunk up as you can. Also, if you're like me, and the lower tabs on your housing broke off into the mounting hole, you can stick it in there and suck those up too.
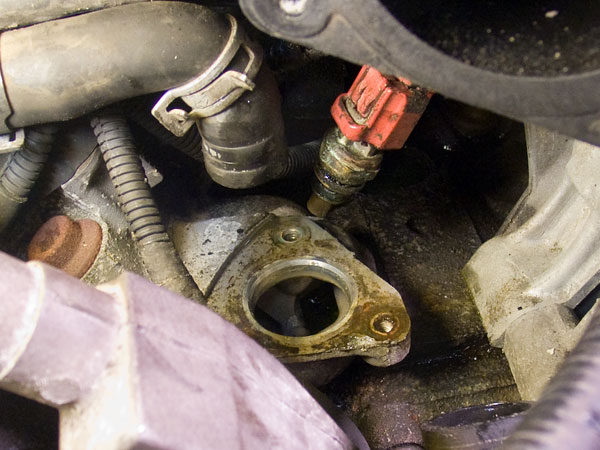
Next turn your attention to the mounting hole. Mine was very dirty with sludge and corrosion stuck on it. I did most of my cleaning with a small square of a Scotch Brite scrubbing pad and WD-40. That got a lot of it up. I also had to use a putty knife to get up some of the worst stuff. Be very careful if using a putty knife! You don't want to score the mounting surface at all. When I was done it looked like this.
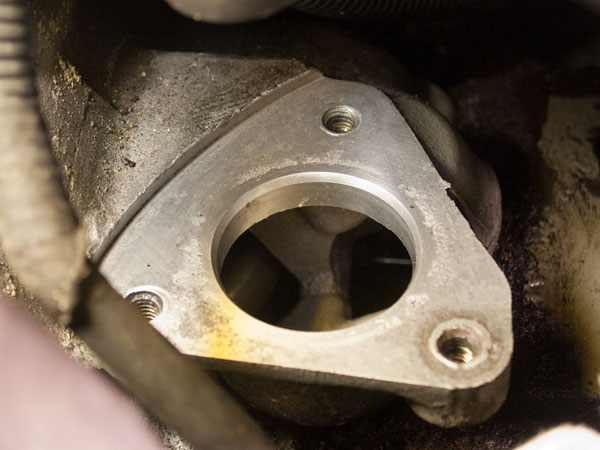
Once clean I found that there was some pitting on the mounting surface directly underneath where the gasket sits. I was worried it would cause a problem but it didn't matter at all.
If you're interested in flushing out your coolant system then now is a good time to do that too. I didn't, but if you want to, having the thermostat out of the way will make it a little easier than normal.
Next -> Steps 7-9: Install New Parts
this site was written by ben grosser
all content and photos are © 2012 and may not be used without permission.